


MT4/MT5: Install custom indicator
EA, indicators & objects (PC)
EA, indicators & objects (PC)

This article was :
published
updated
To use a third-party Expert Advisor (EA), you must first install it on MetaTrader4 (MT4) / MetaTrader5 (MT5) by saving the EA file to the "Experts" folder of MT4/MT5 and refreshing the EA list.
Here we will look at how to install an Expert Advisor (EA) on MT4/MT5.
Switch between MT4/MT5 tabs to check the steps for each.
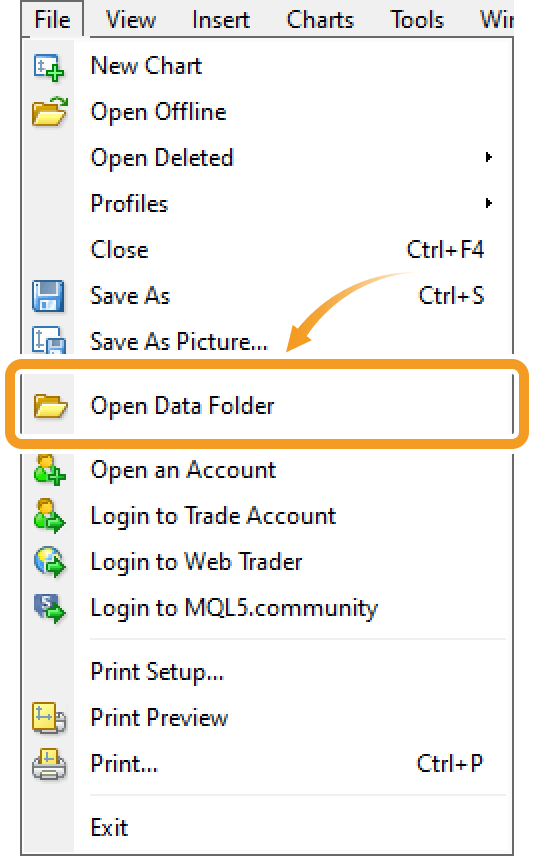
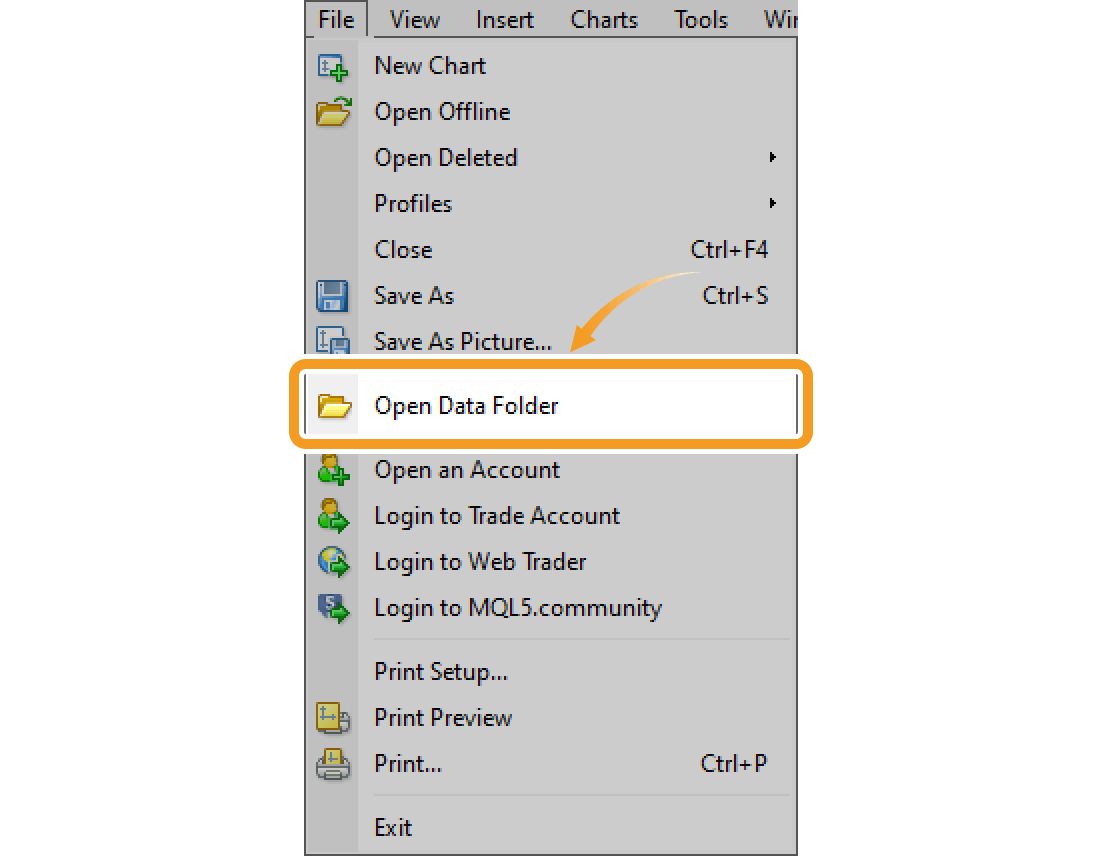
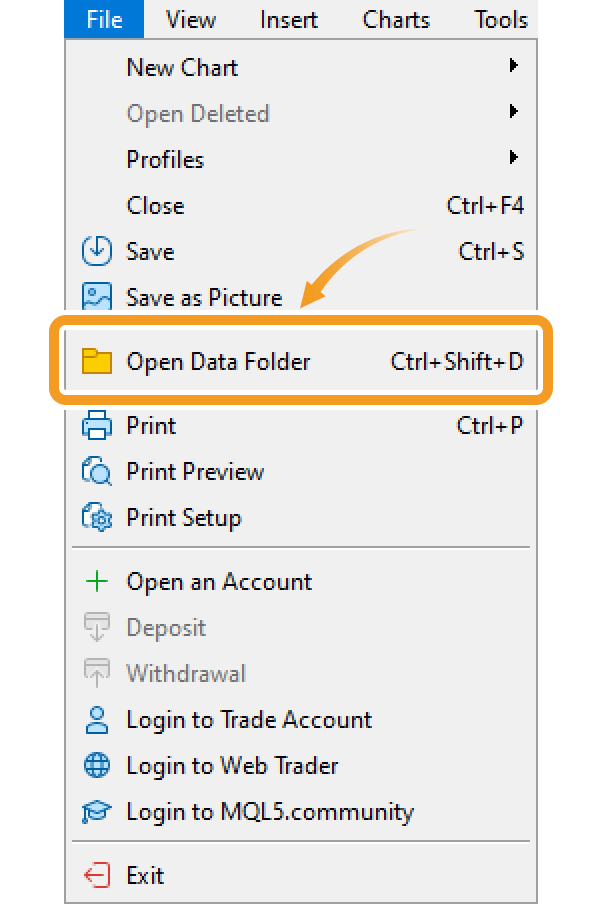
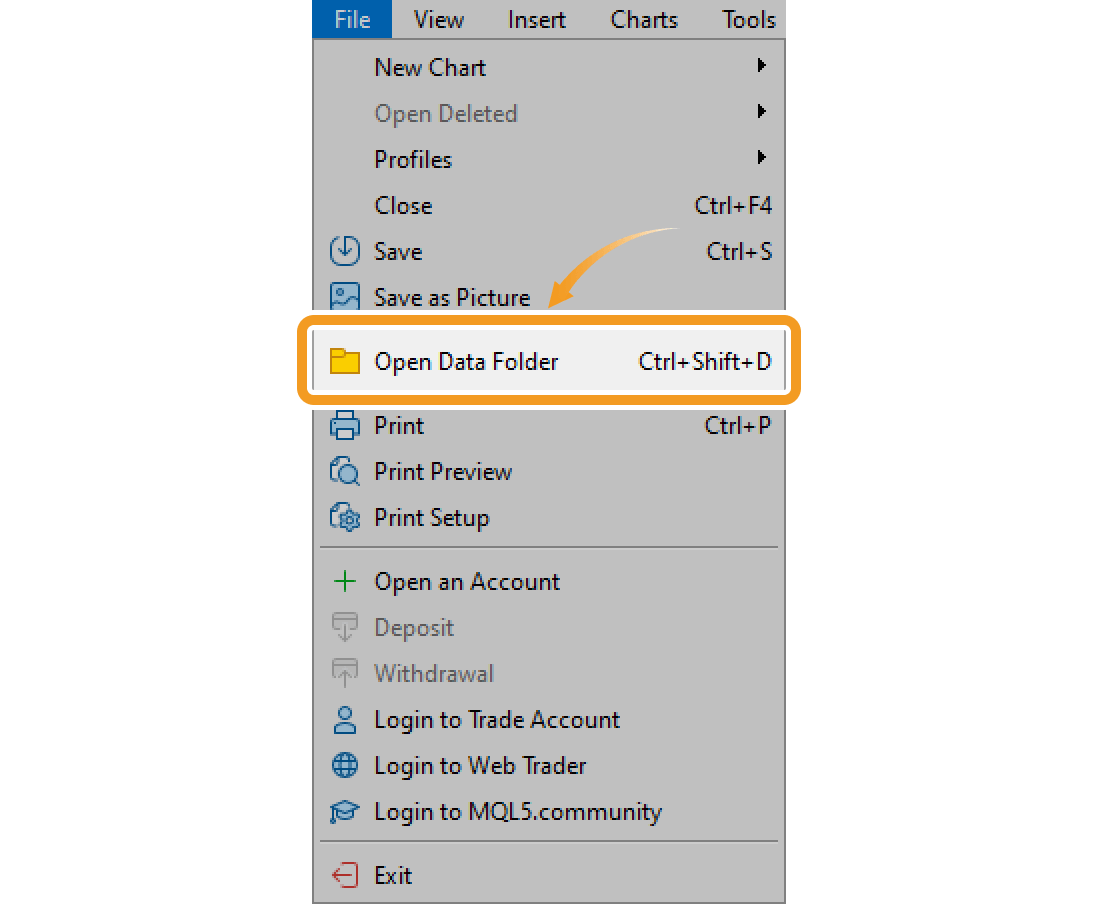
Click "File" in the menu and select "Open Data Folder".
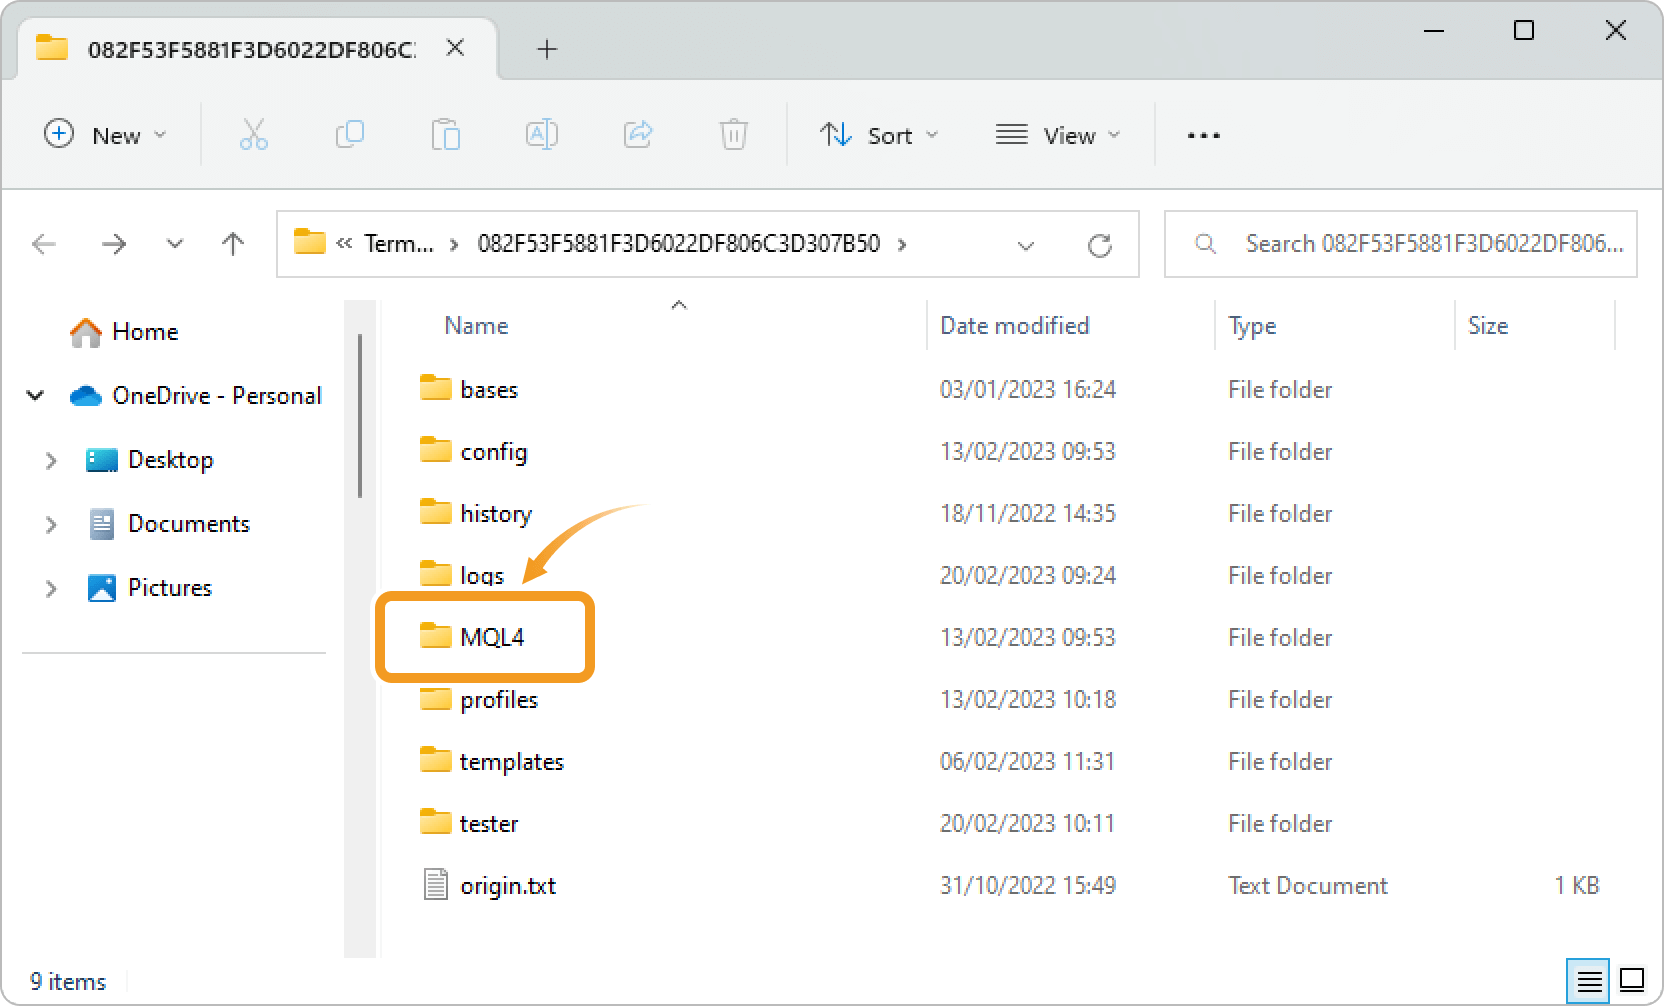
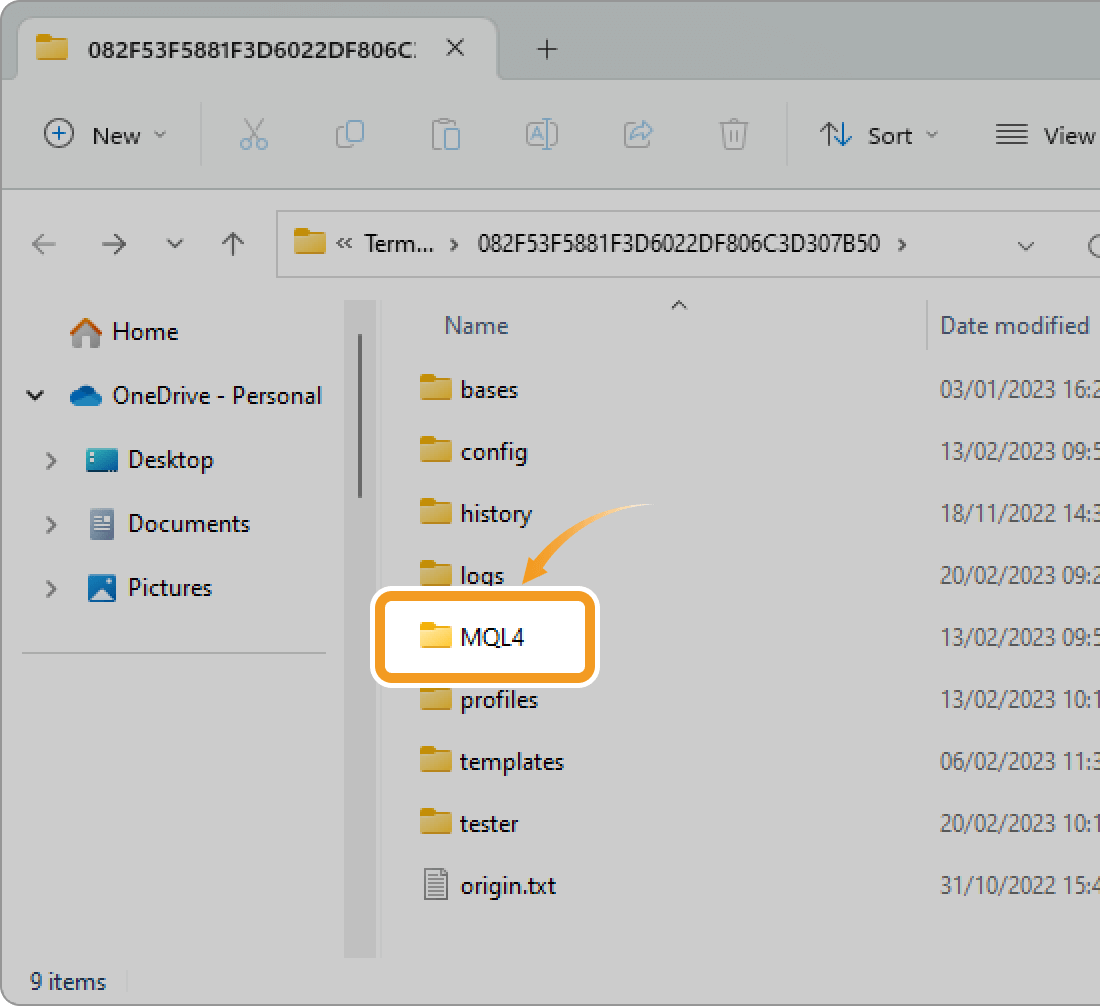
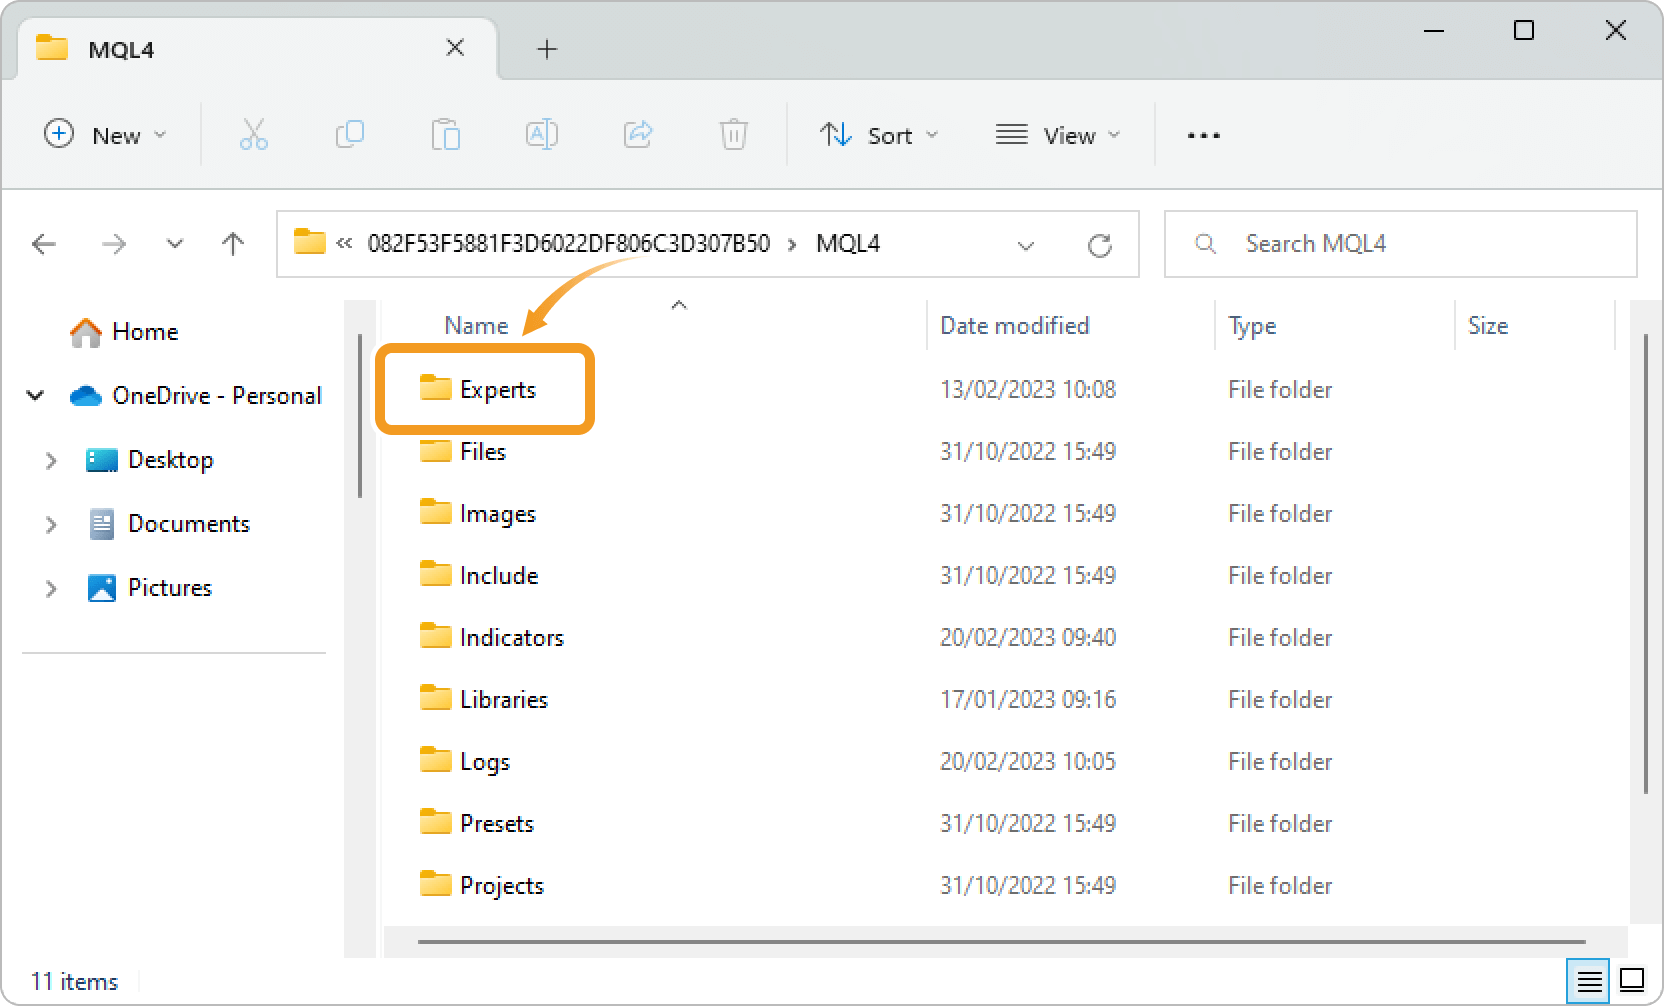
Open the "MQL4" folder.
Open the "Experts" folder.

Save the Expert Advisor (EA) you wish to install in the "Experts" folder. The file extension of the Expert Advisor (EA) will be either ".ex4" or ".mq4".
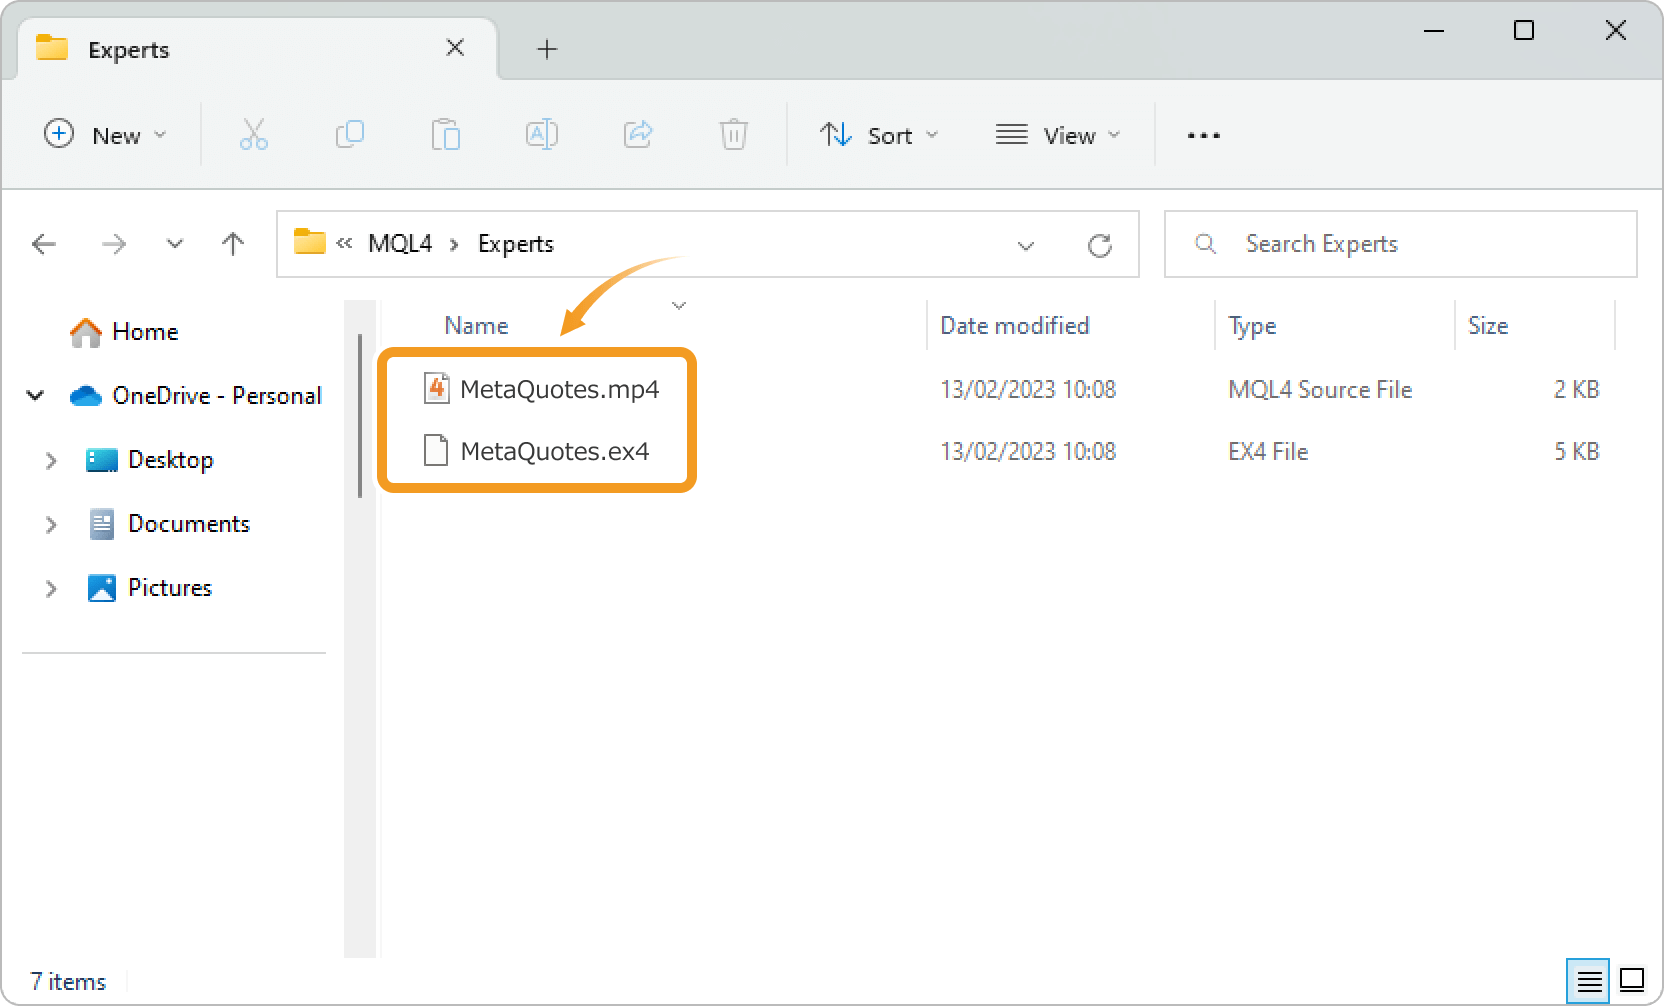
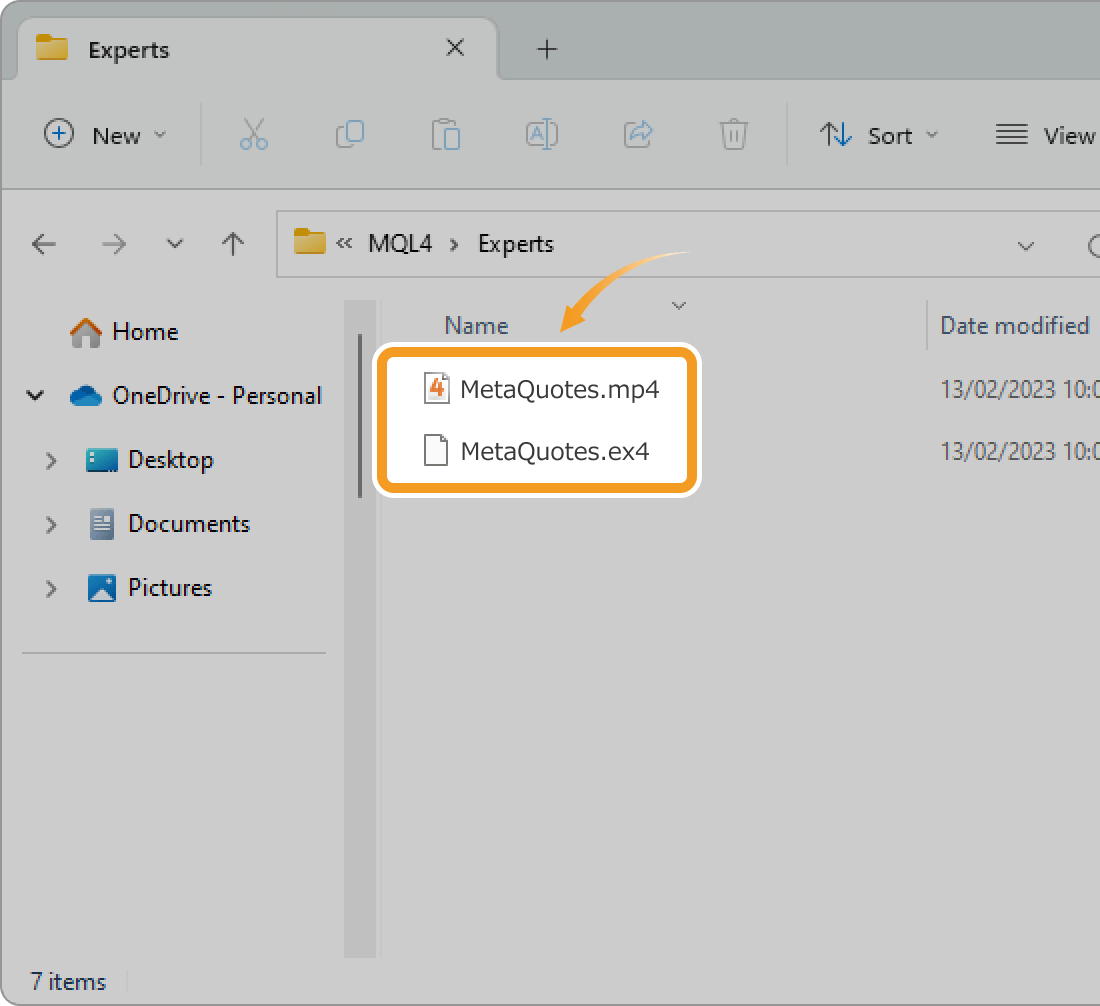
Files with the "mq4" extension are EA source code files, which need to be compiled into "ex4" files.
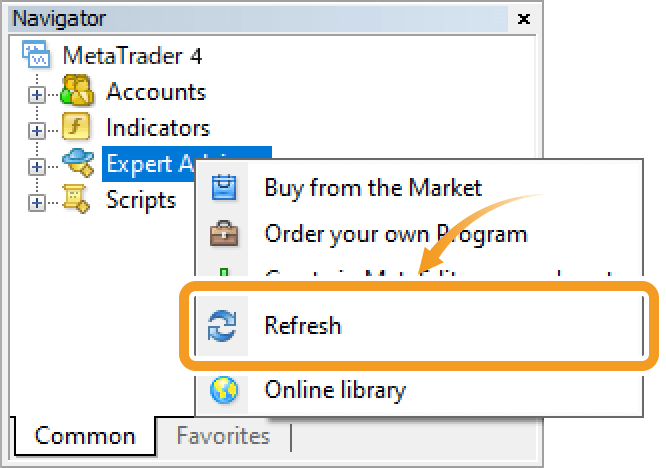
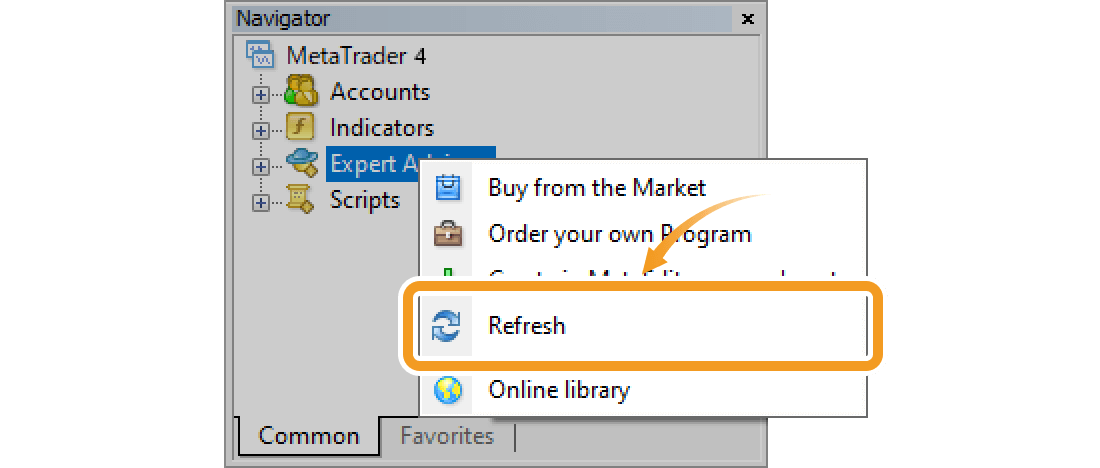
Right-click on "Expert Advisors" in the Navigator and click "Refresh".
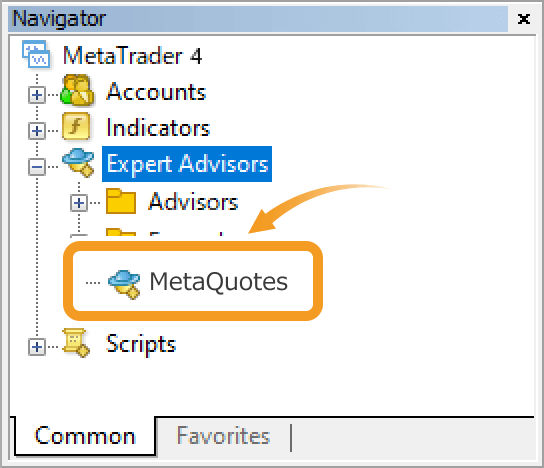
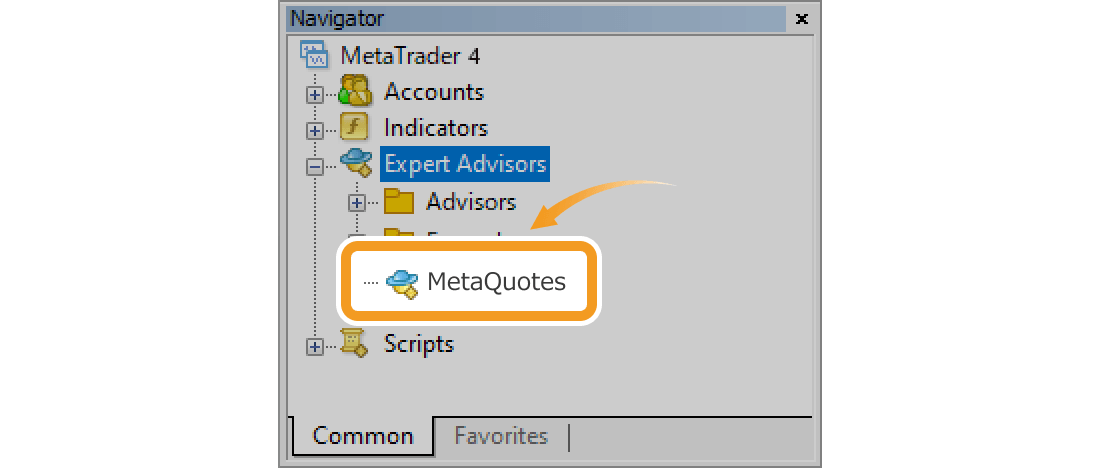
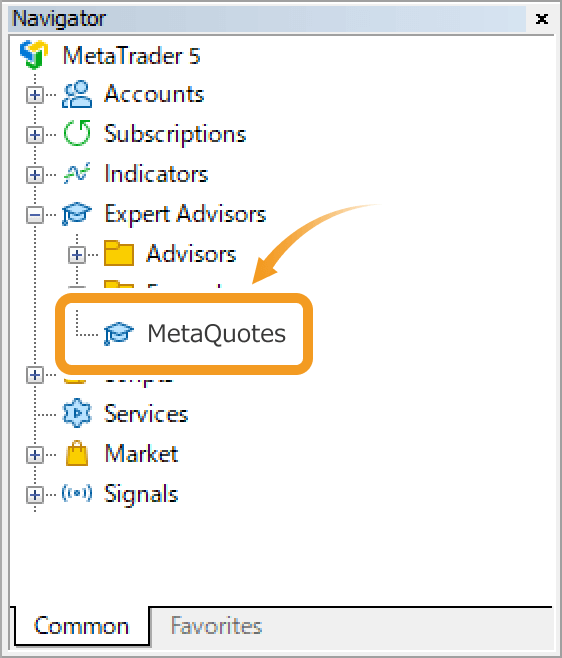
Once the EA is installed, you will see its name under "Expert Advisors" in the Navigator. Apply it to the chart by double-clicking or dragging.
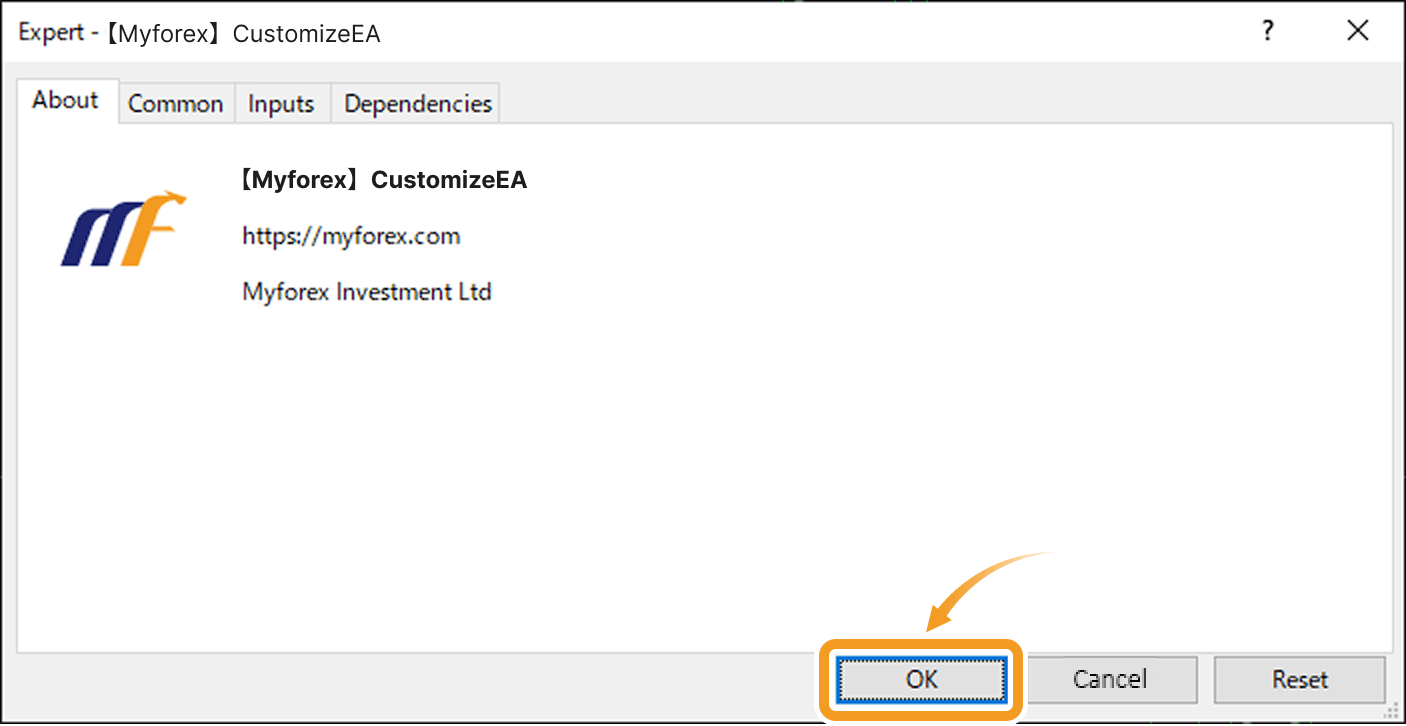
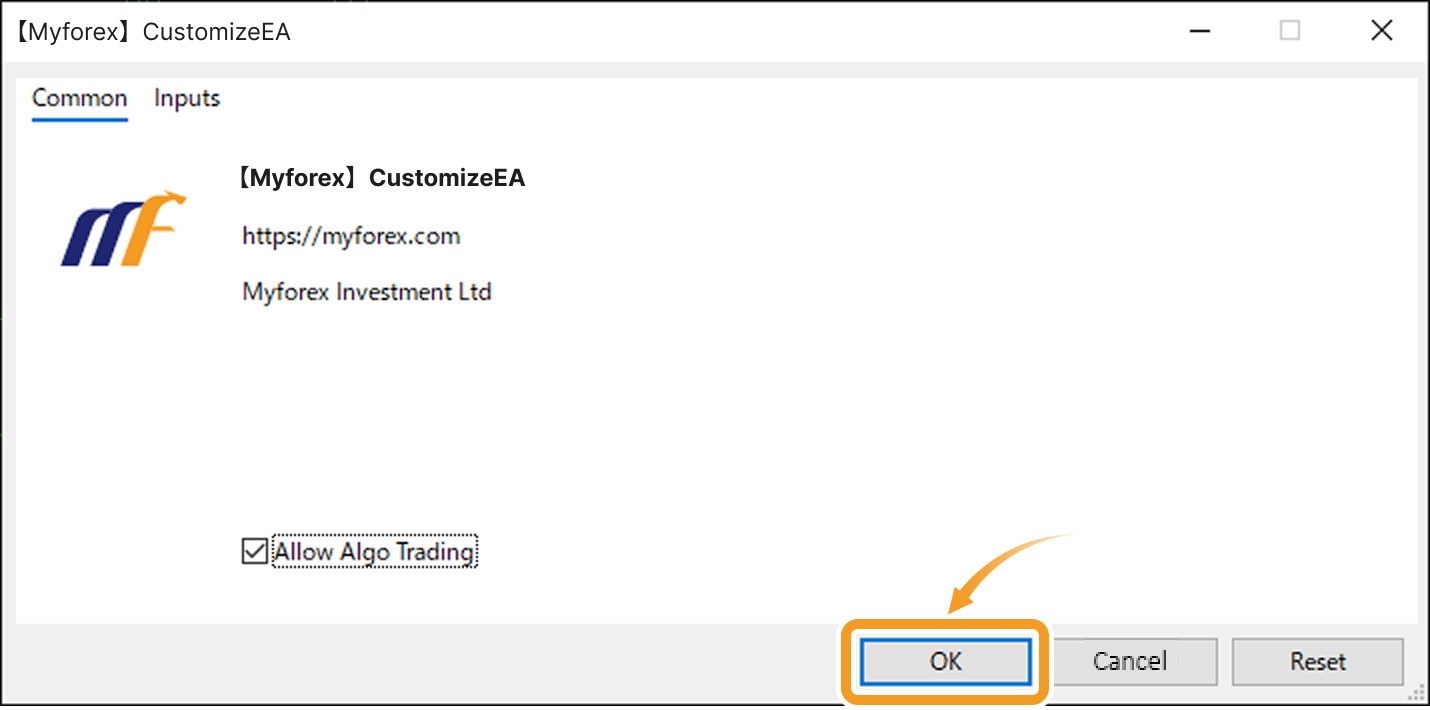
Set up the EA and click "OK".
Related article: Configure EA/indicator settings

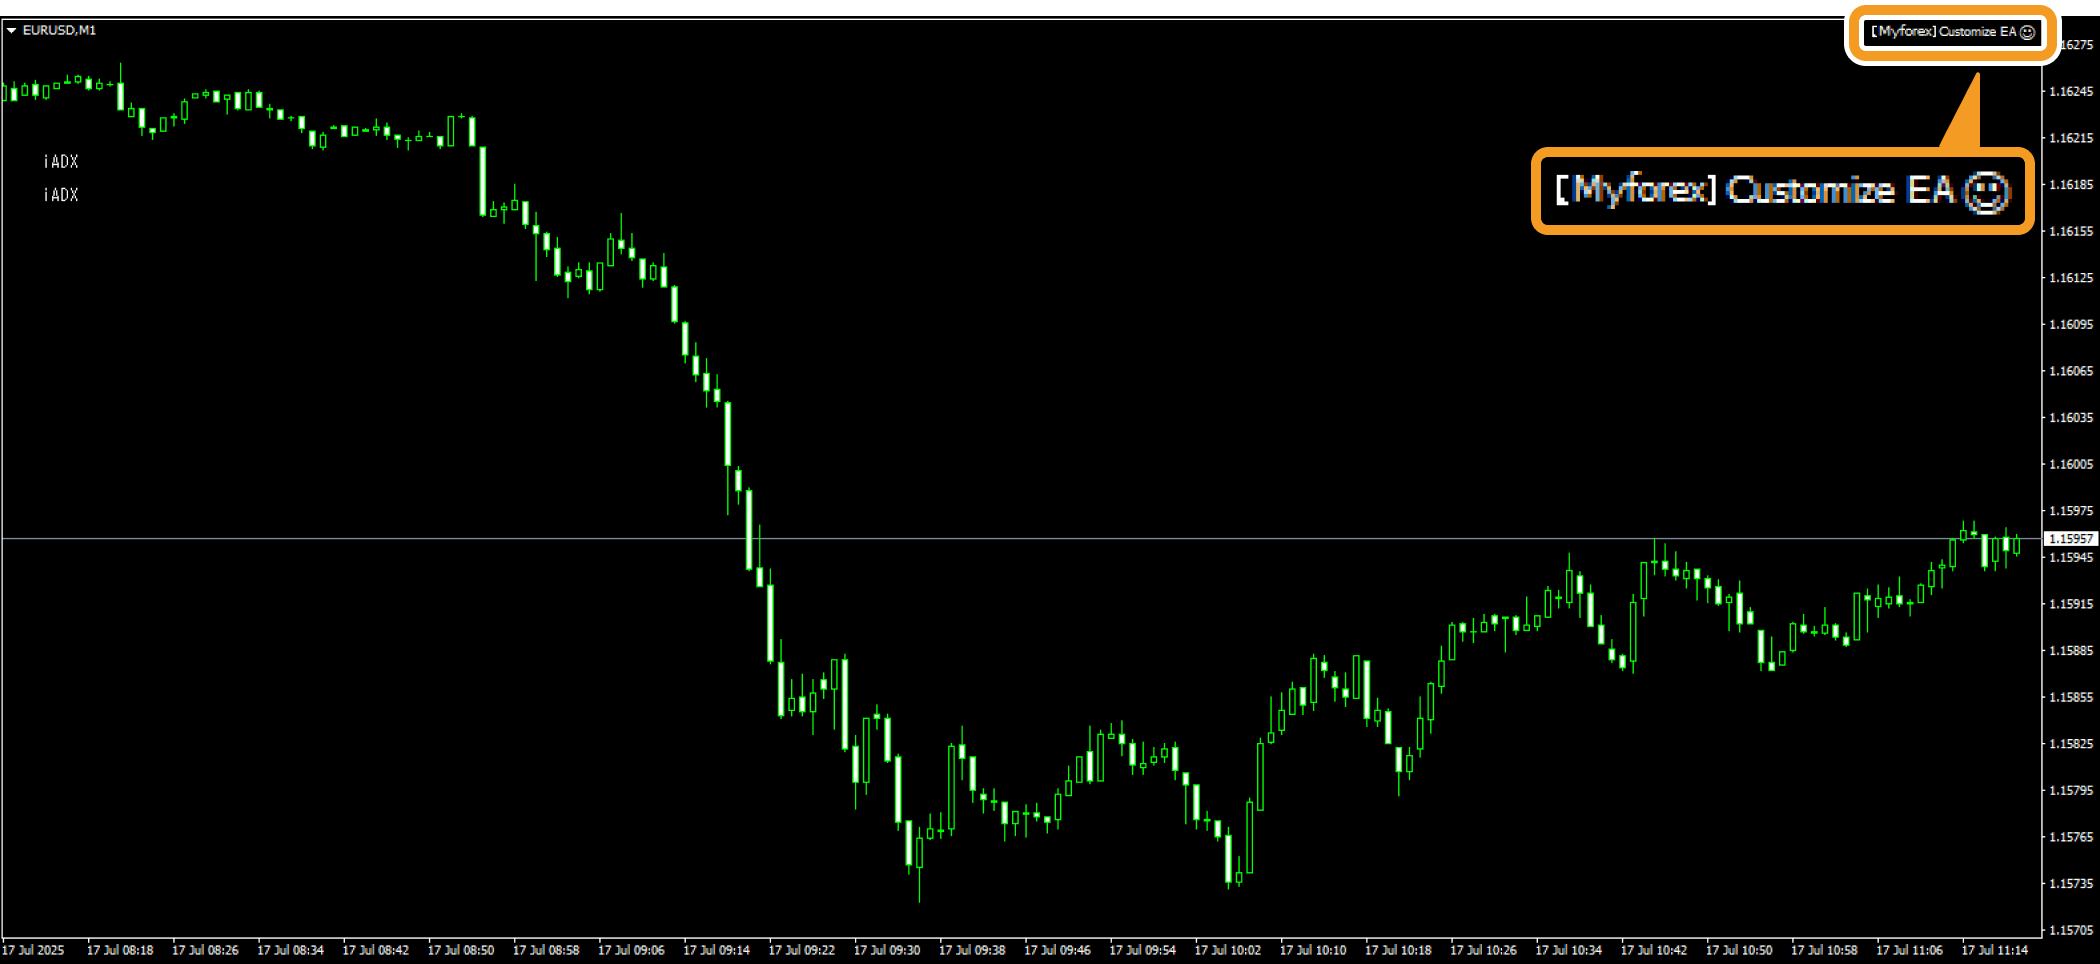
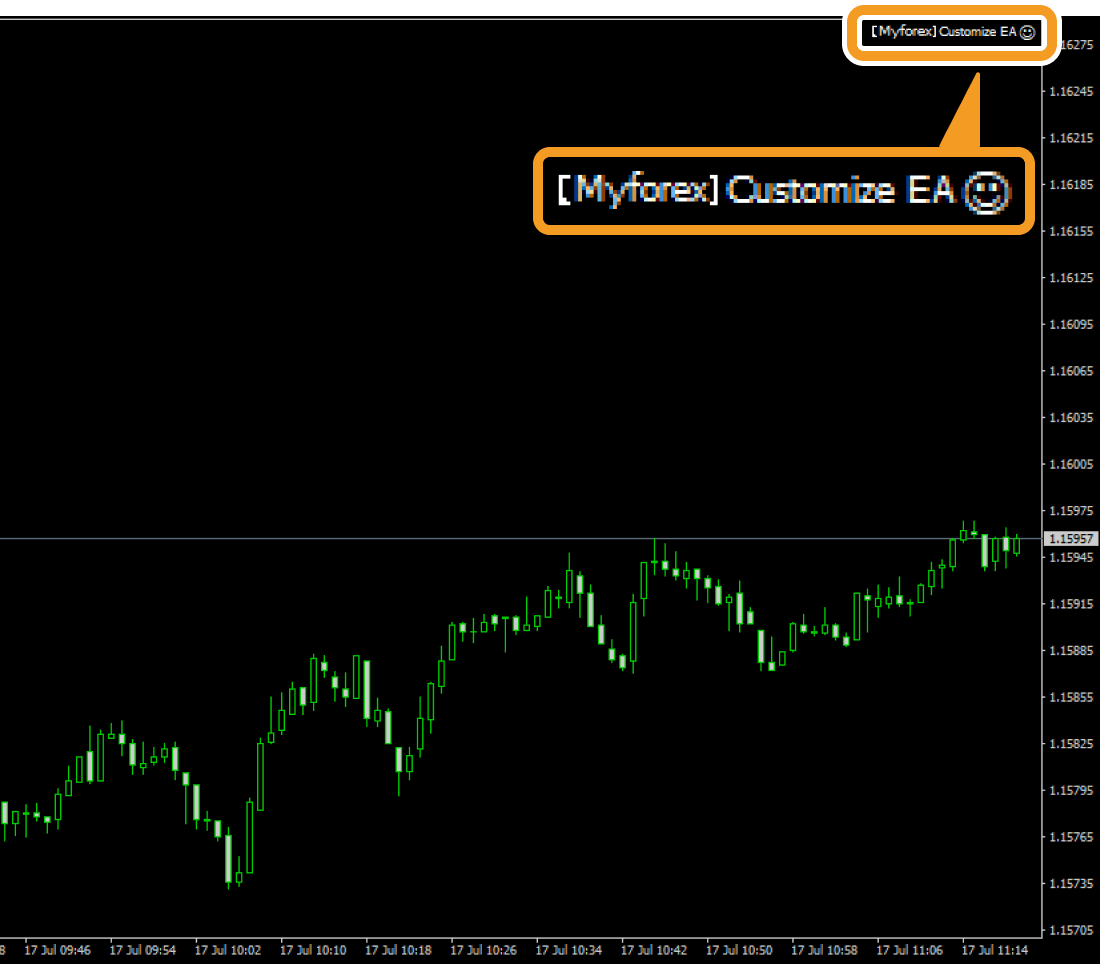
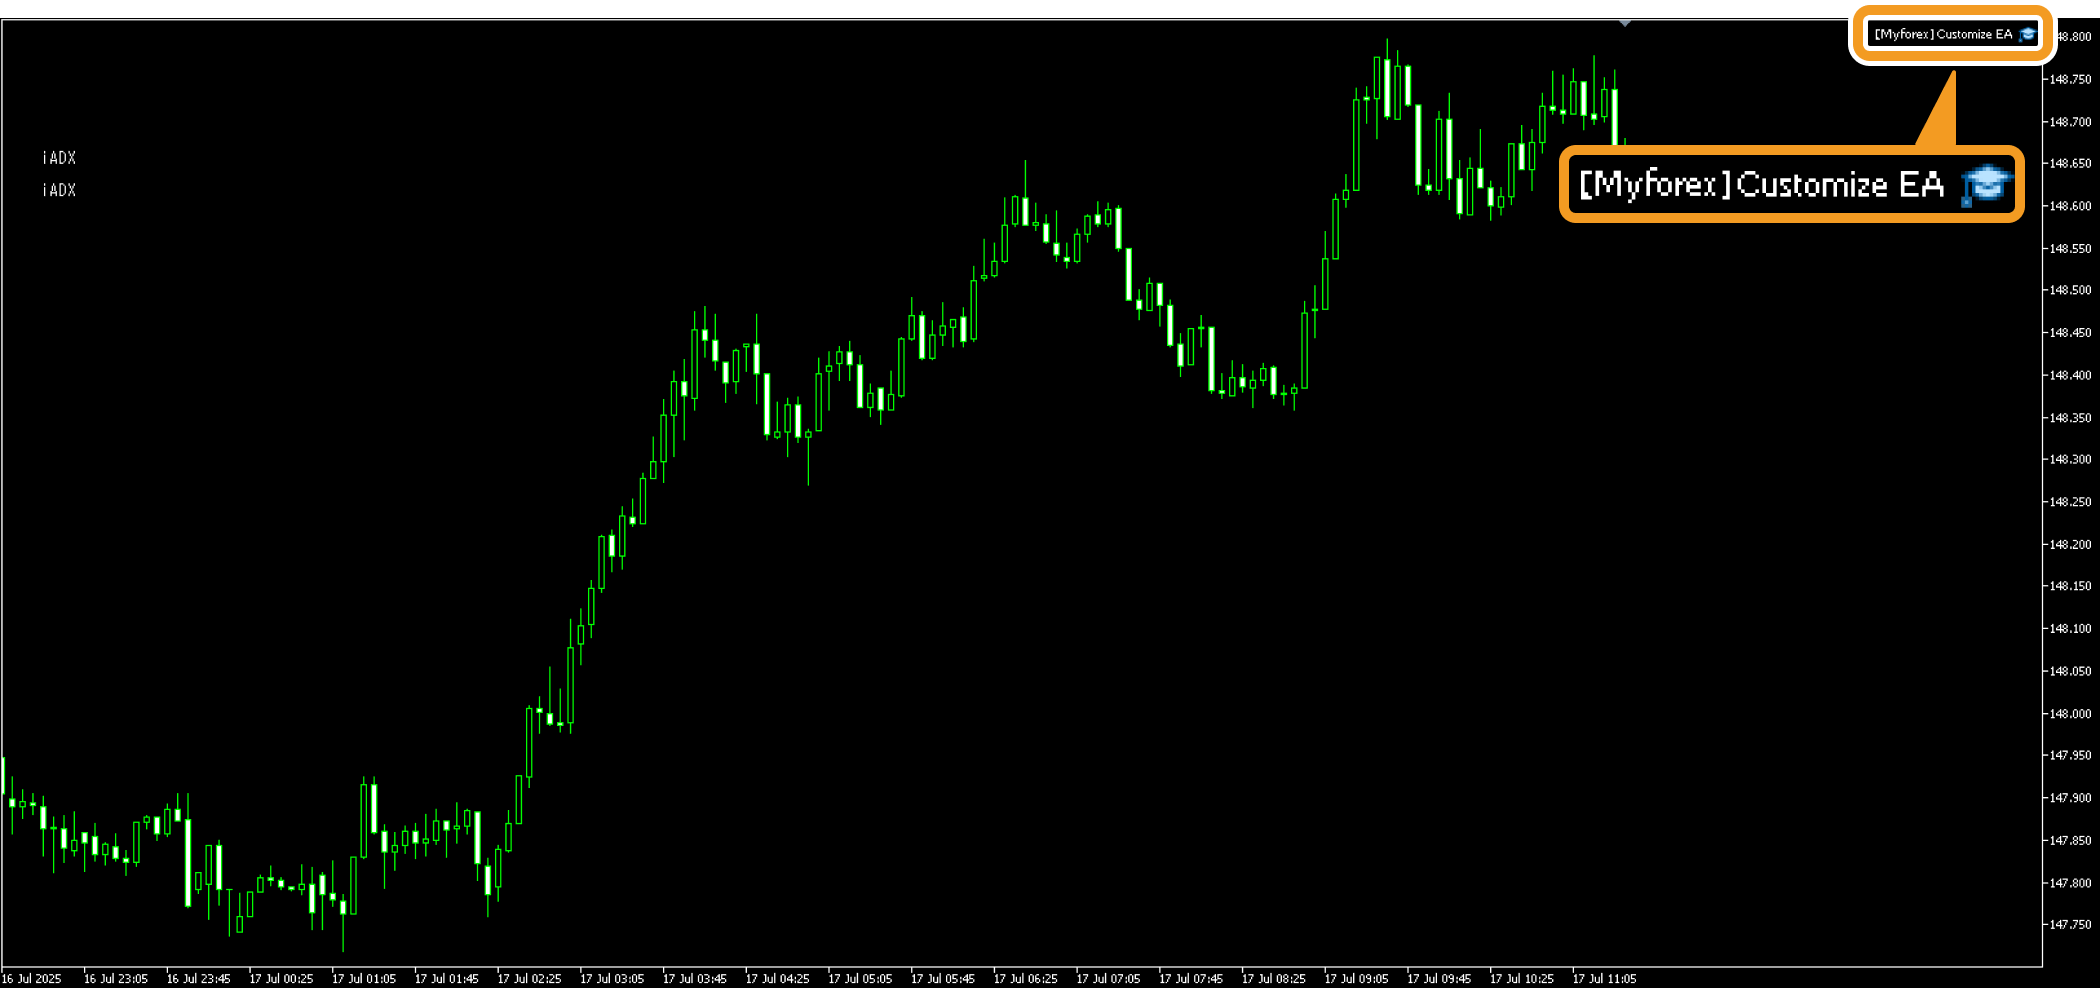
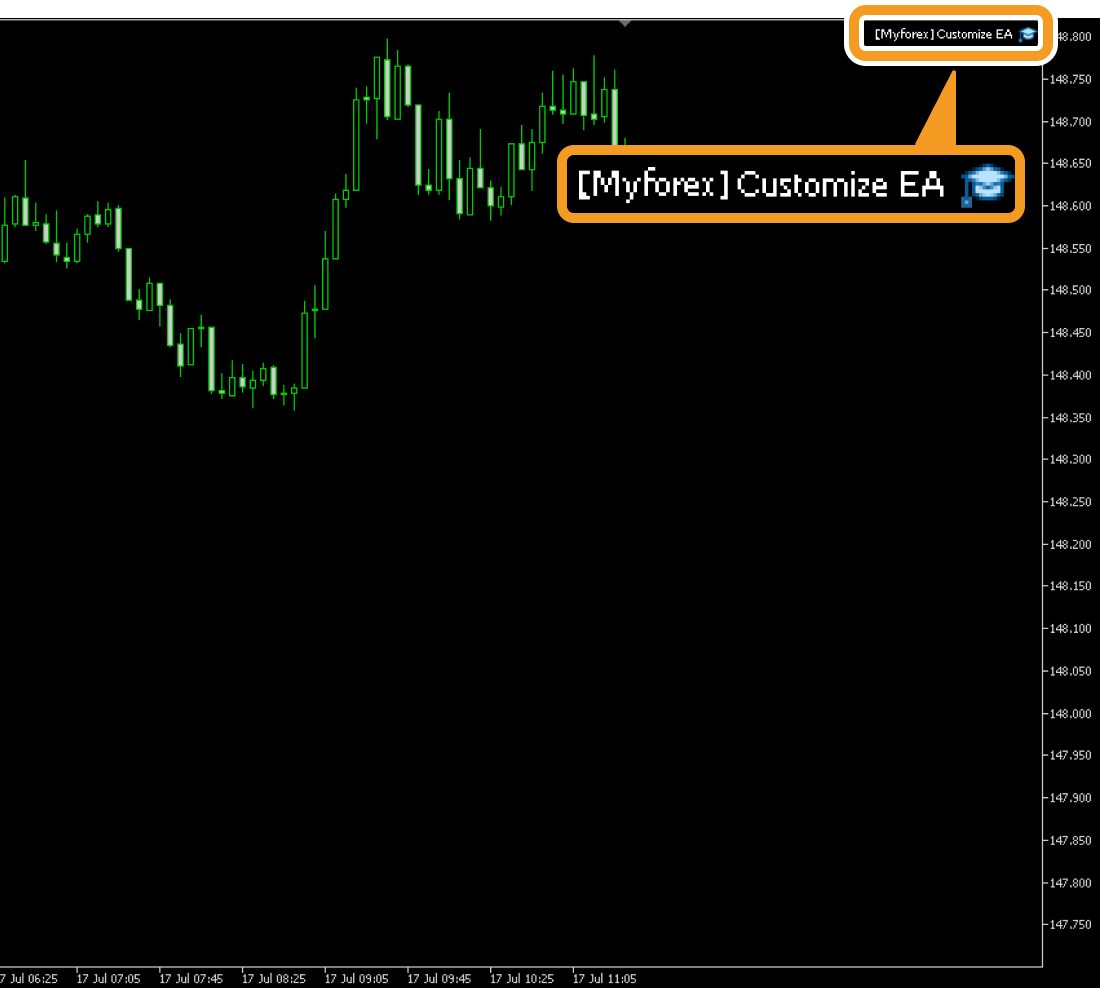
The EA will be applied to the chart.
Click "File" in the menu and select "Open Data Folder".
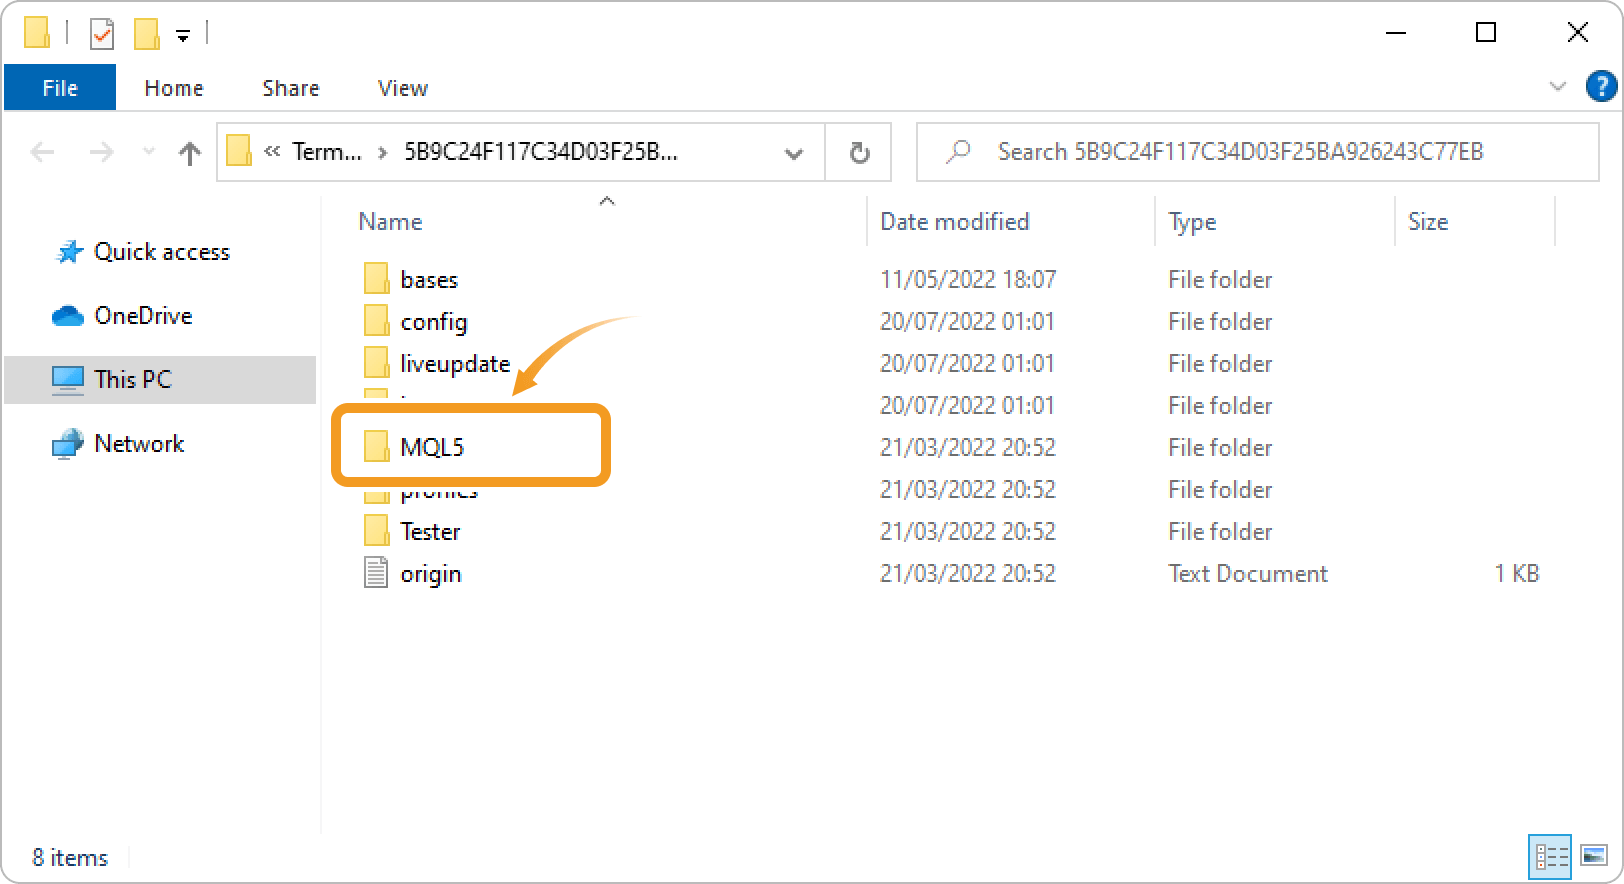
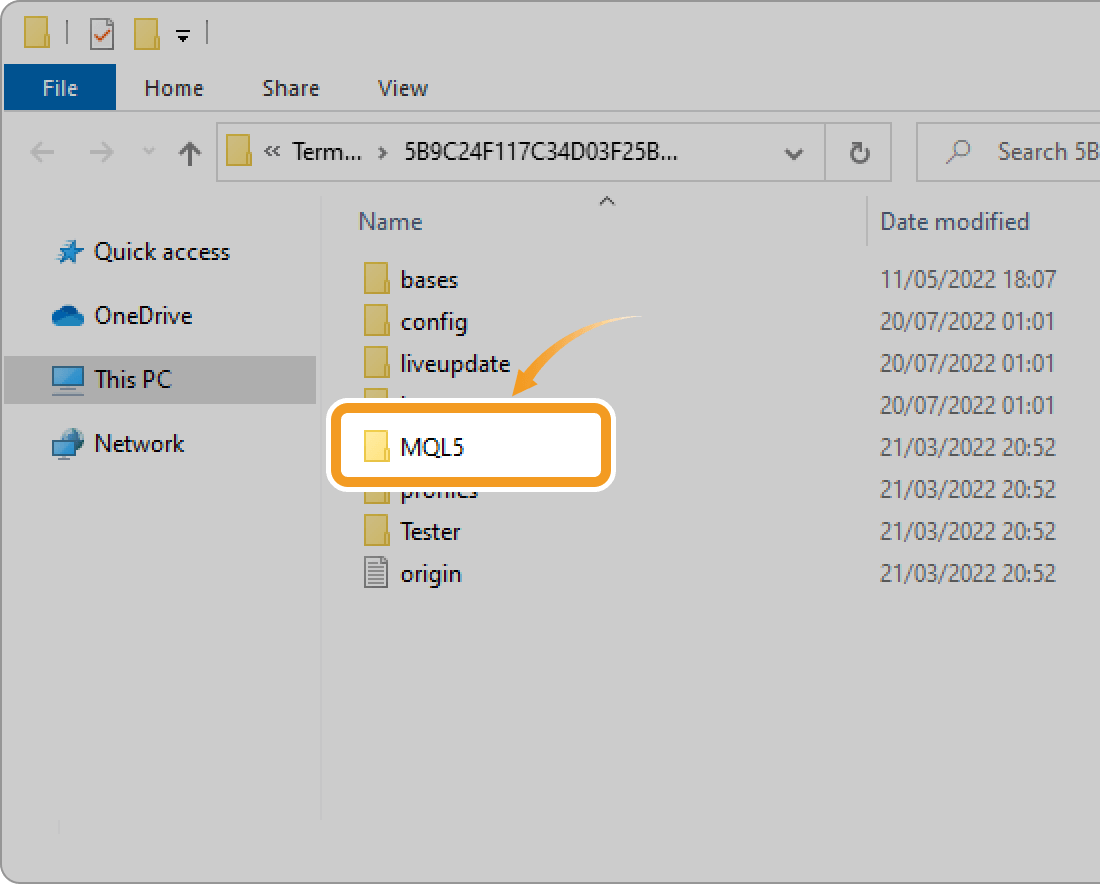
Open the "MQL5" folder.
Open the "Experts" folder.
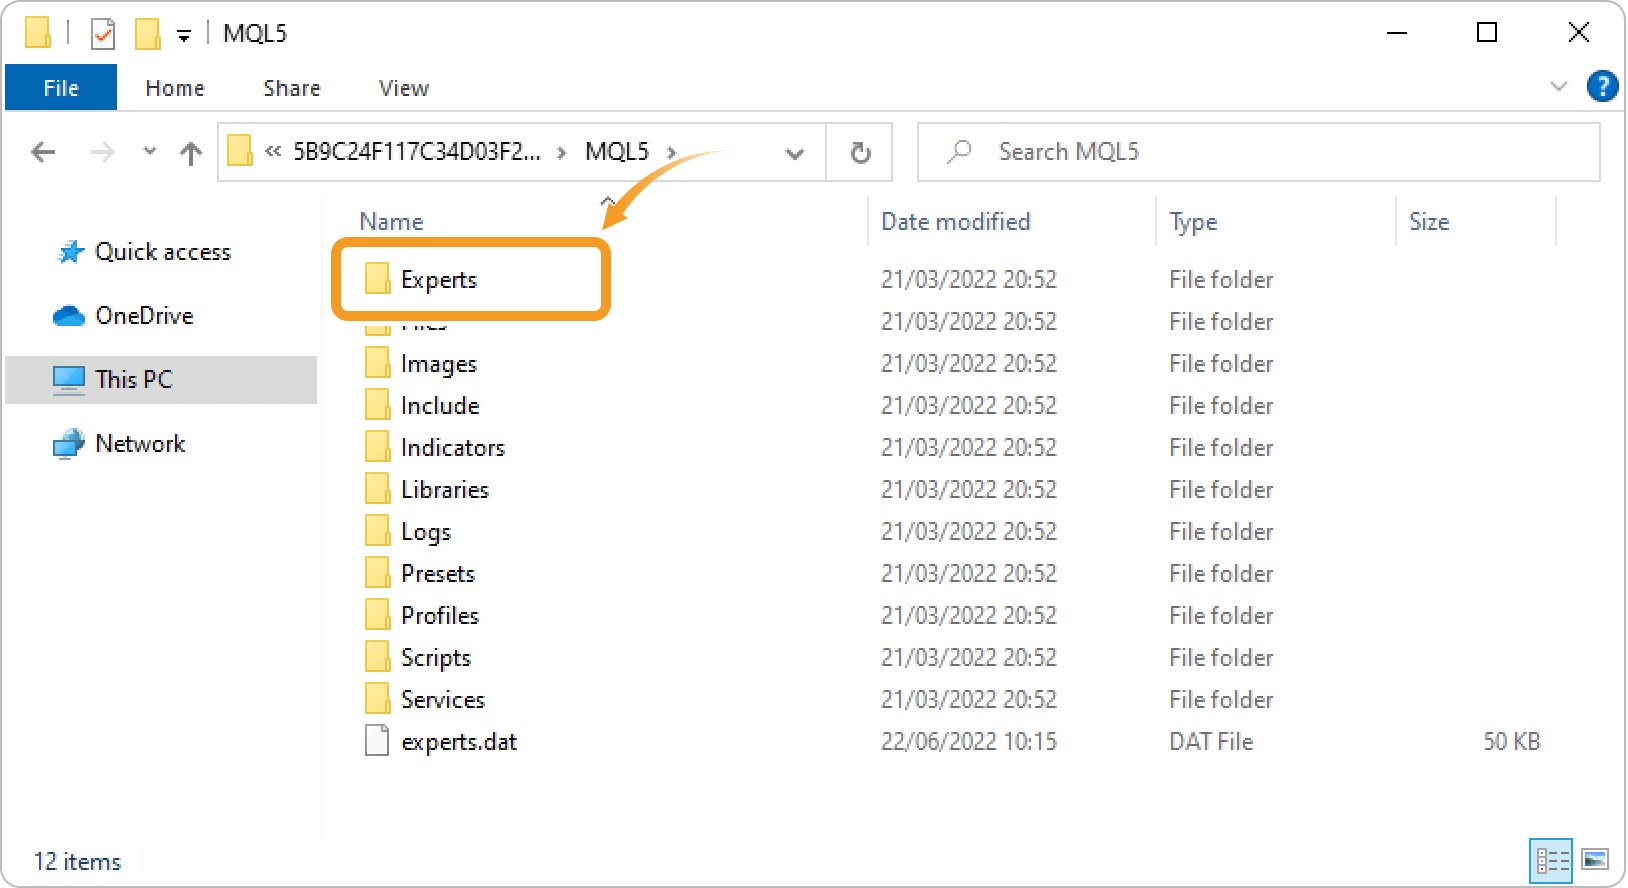
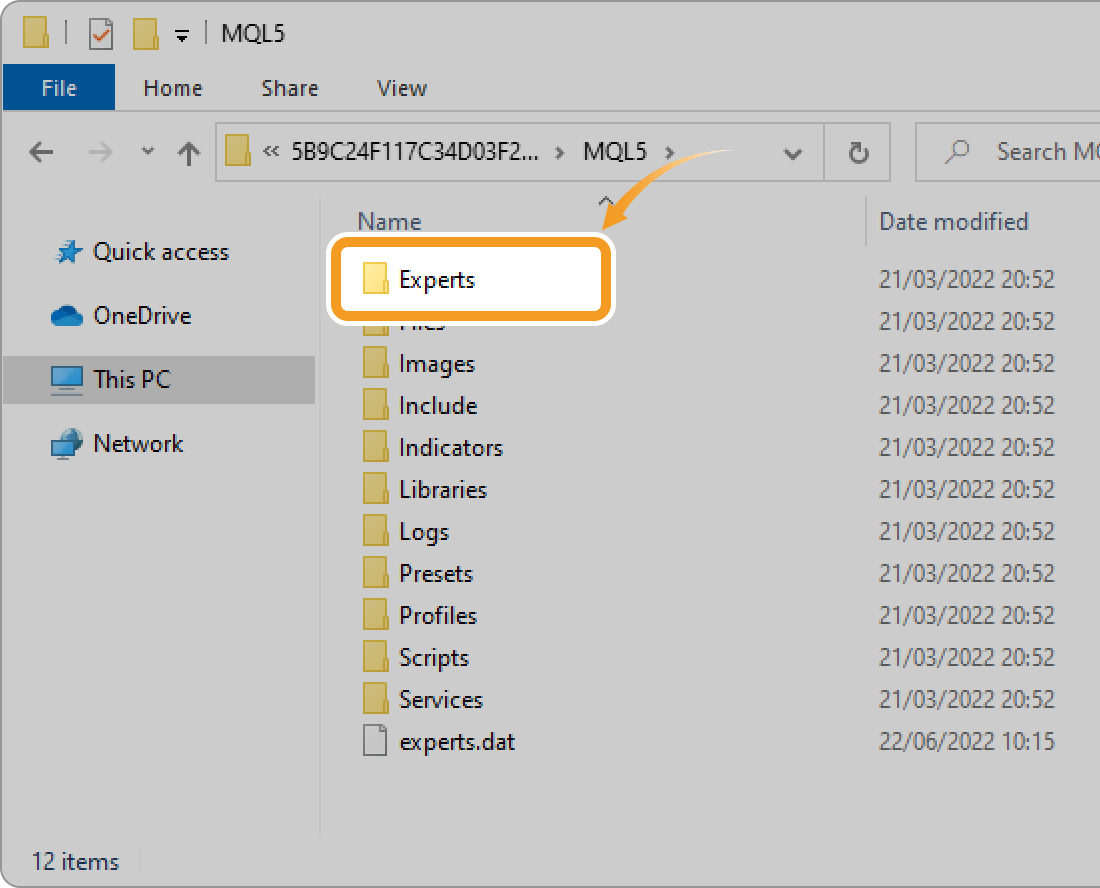
Save the Expert Advisor (EA) you wish to install in the "Experts" folder. The file extension of the Expert Advisor (EA) is ".ex5".
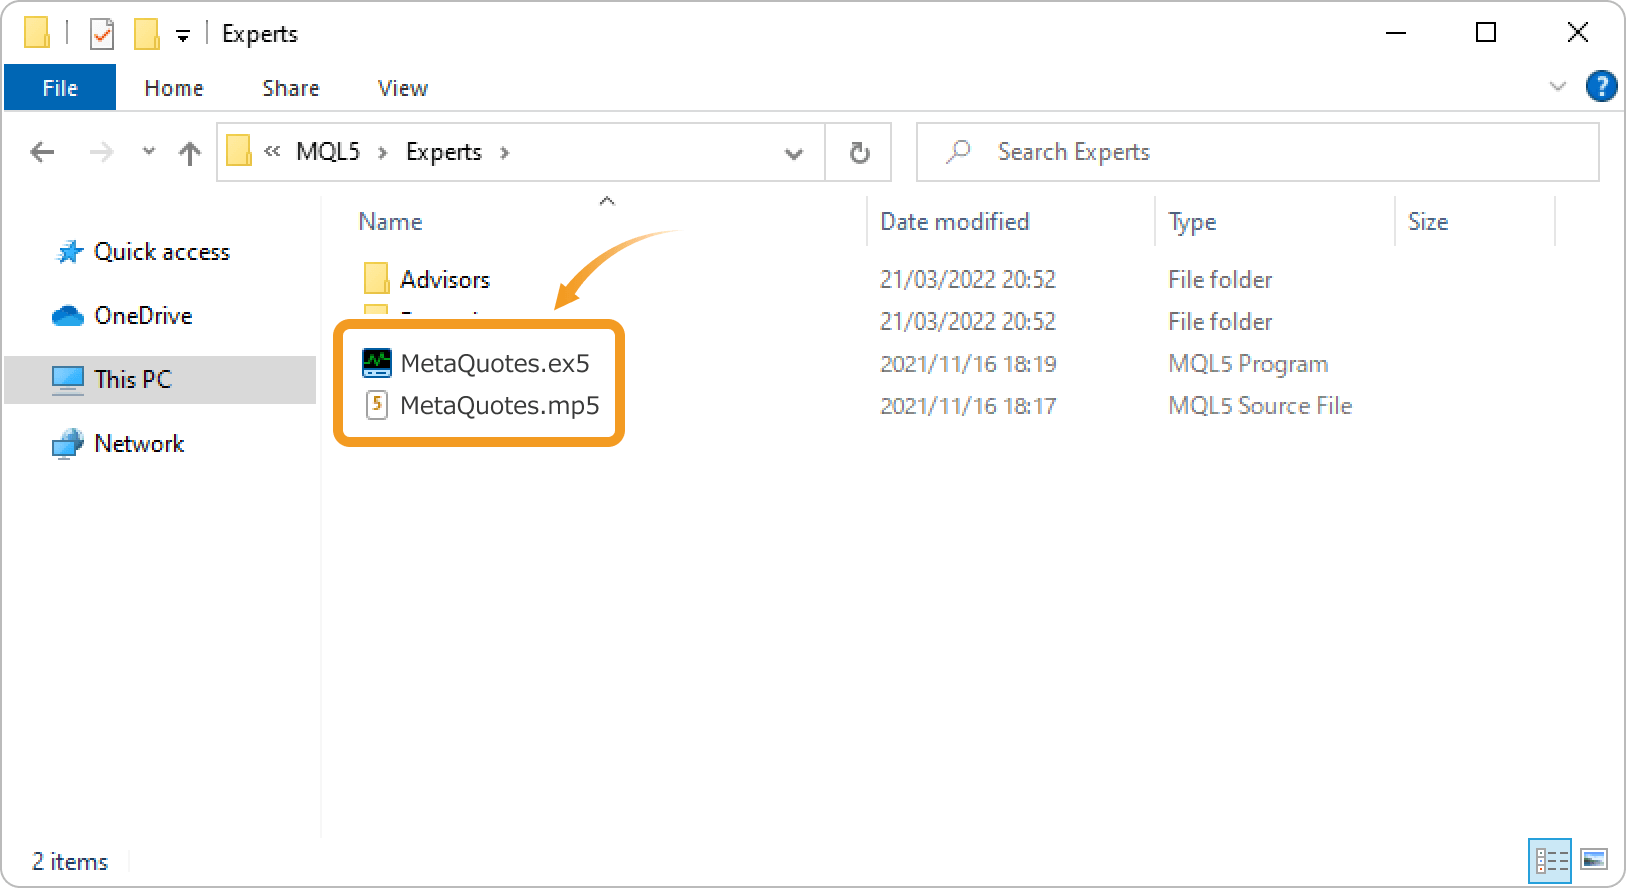
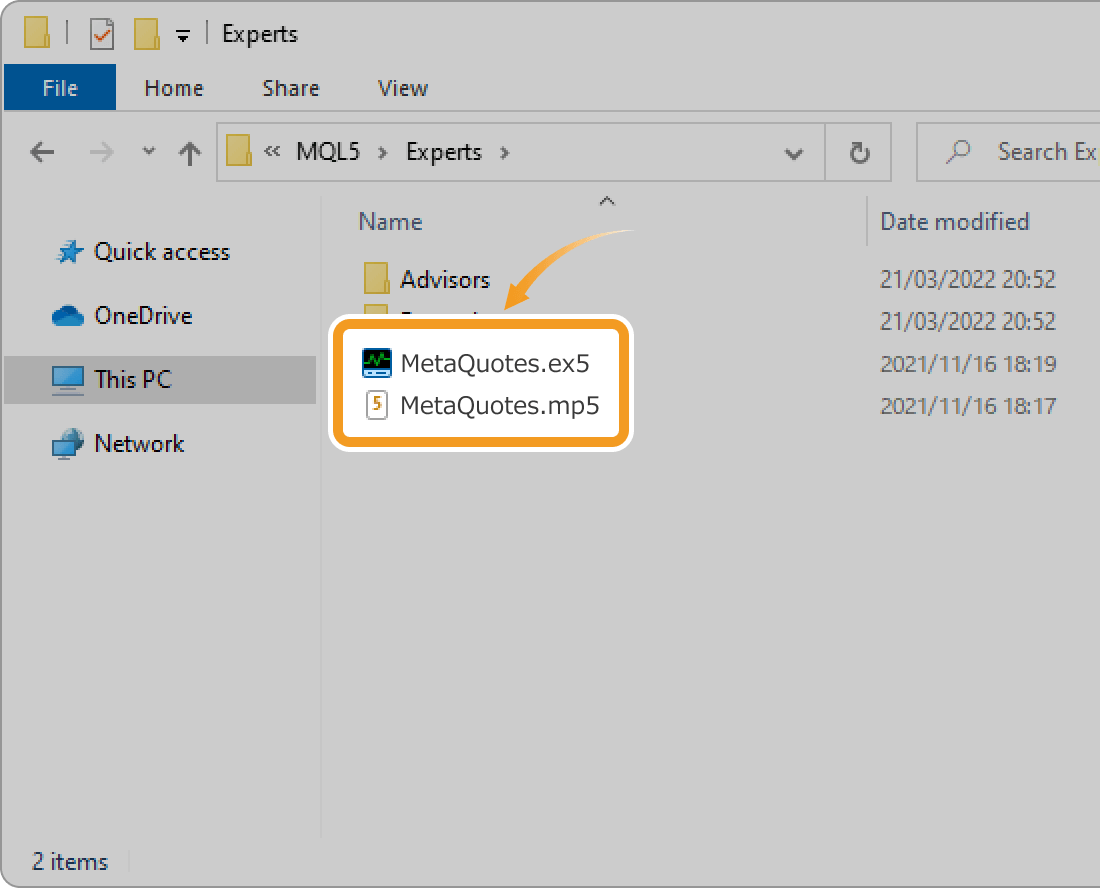
Files with the "mq5" extension are EA source code files, which need to be compiled into "ex5" files.
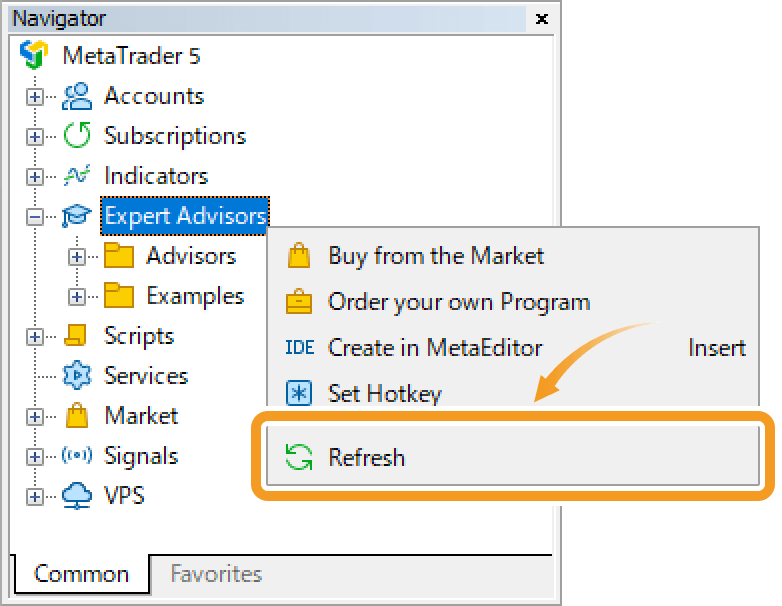
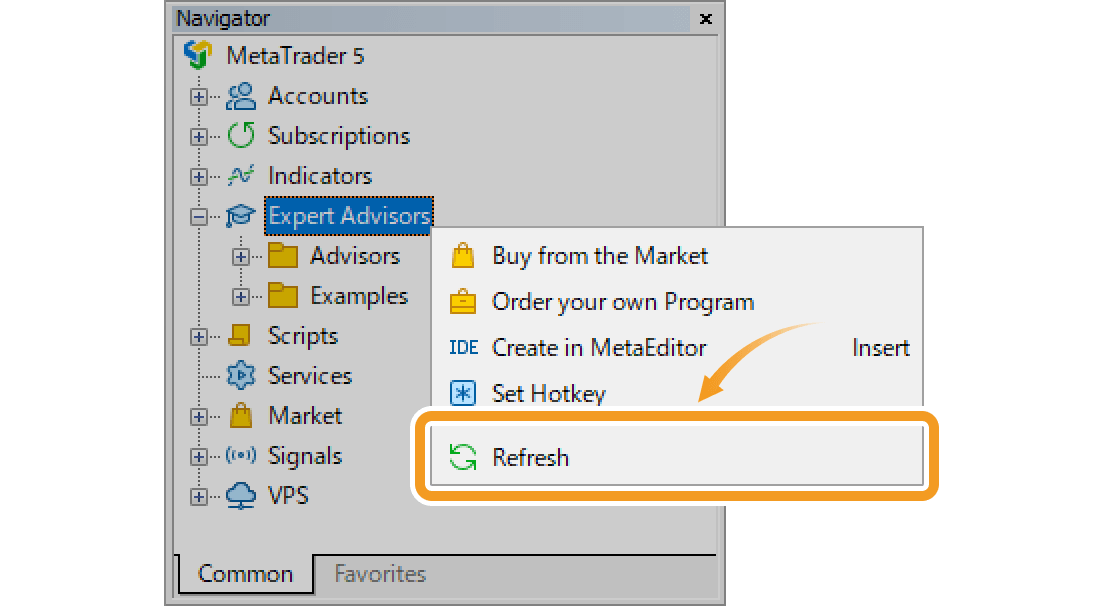
Right-click on "Expert Advisors" in the Navigator and click "Refresh".
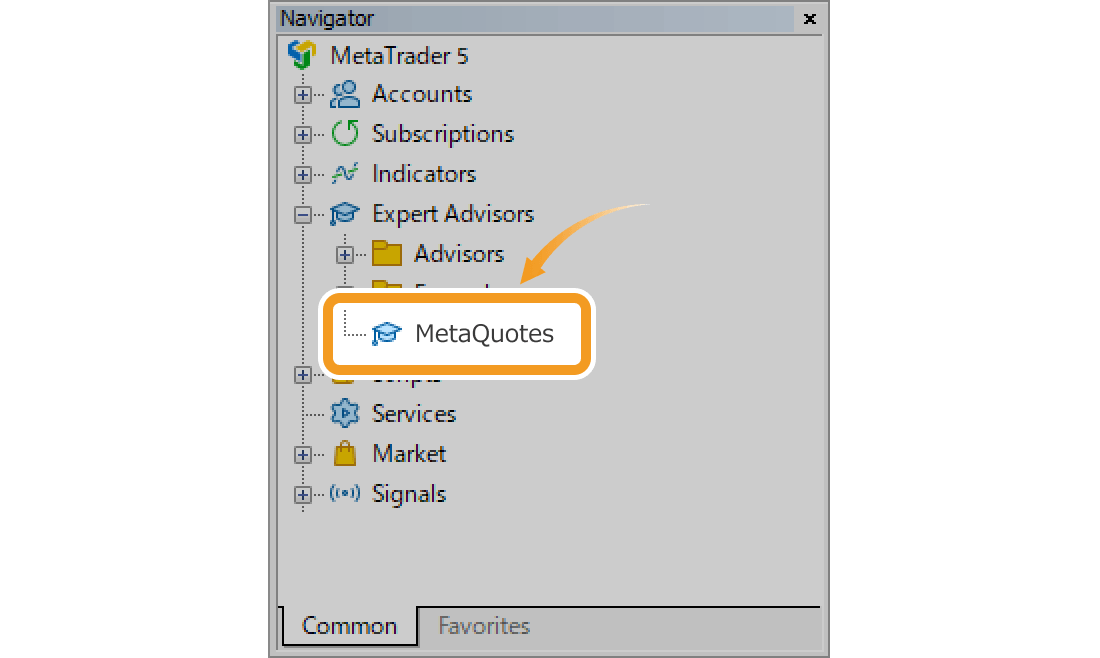
Once the EA is installed, you will see its name under "Expert Advisors" in the Navigator. Apply it to the chart by double-clicking or dragging.
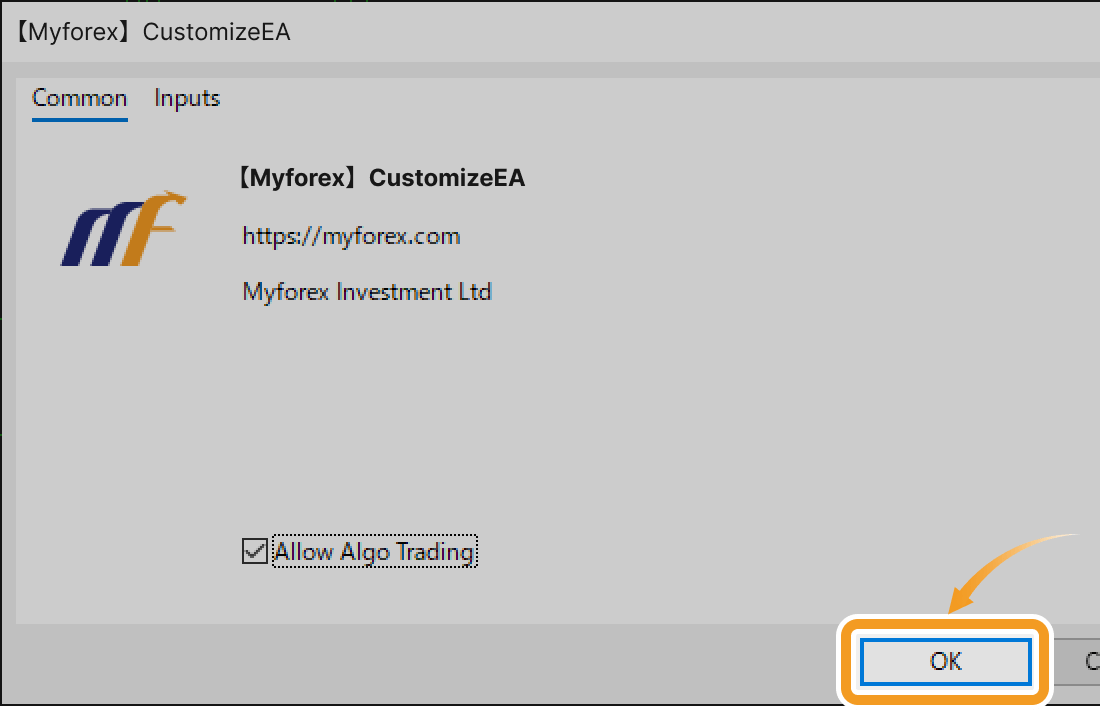
Set up the EA and click "OK".
Related article: Configure EA/indicator settings
The EA will be applied to the chart.
Was this article helpful?
0 out of 0 people found this article helpful.
Thank you for your feedback.